Connect your MCP client to Coducky
Upgrade your MCP-compatible client with Coducky superpowers. After setting up the MCP, you can ask your agent to run a review directly in Coducky.
Why MCP?
Coducky already supports launching reviews from the UI using your coding agents. But sometimes you might want to kick off a review without switching contexts or clicking buttons.
The Coducky MCP server gives your client the power to start a review and append findings directly to the Coducky app interface. Once it's done, you can observe the review inside the Coducky UI and copy out any feedback you want to send back to your coding agent.
Getting started
You'll need to first download and install Coducky.
Start Coducky once to let it set up the MCP helper command, then turn on Enable MCP server in Settings > MCP.
Client configs
command, with no args. Make sure to replace <username> with your macOS username.
Claude Code / Claude CLI
Start Coducky once so it can install the helper command, then add it to Claude Code.
claude mcp add coducky -- "$HOME/Library/Application Support/com.coducky.app/bin/coducky-mcp"Manual configuration
Add this server entry to Claude Code / Claude CLI's MCP config, then restart the client.
{
  "command": "/Users/<username>/Library/Application Support/com.coducky.app/bin/coducky-mcp",
  "args": []
}
Claude Desktop
Place the entry under the desktop client's mcpServers object.
- Open the app and navigate to Settings > Developer > Edit Config
- Open the config in a text editor, such as VS Code
- Paste the following as a new key, below "Preferences":
"mcpServers": { "coducky": { "command": "/Users/<username>/Library/Application Support/com.coducky.app/bin/coducky-mcp", "args": [] } } - Restart Claude Desktop
Codex CLI
Start Coducky once so it can install the helper command, then add it to Codex.
codex mcp add coducky -- "$HOME/Library/Application Support/com.coducky.app/bin/coducky-mcp"Manual configuration
Add this server entry to Codex CLI's MCP config, then restart the client.
[mcp_servers.coducky]
command = "/Users/<username>/Library/Application Support/com.coducky.app/bin/coducky-mcp"
args = []
Codex Desktop
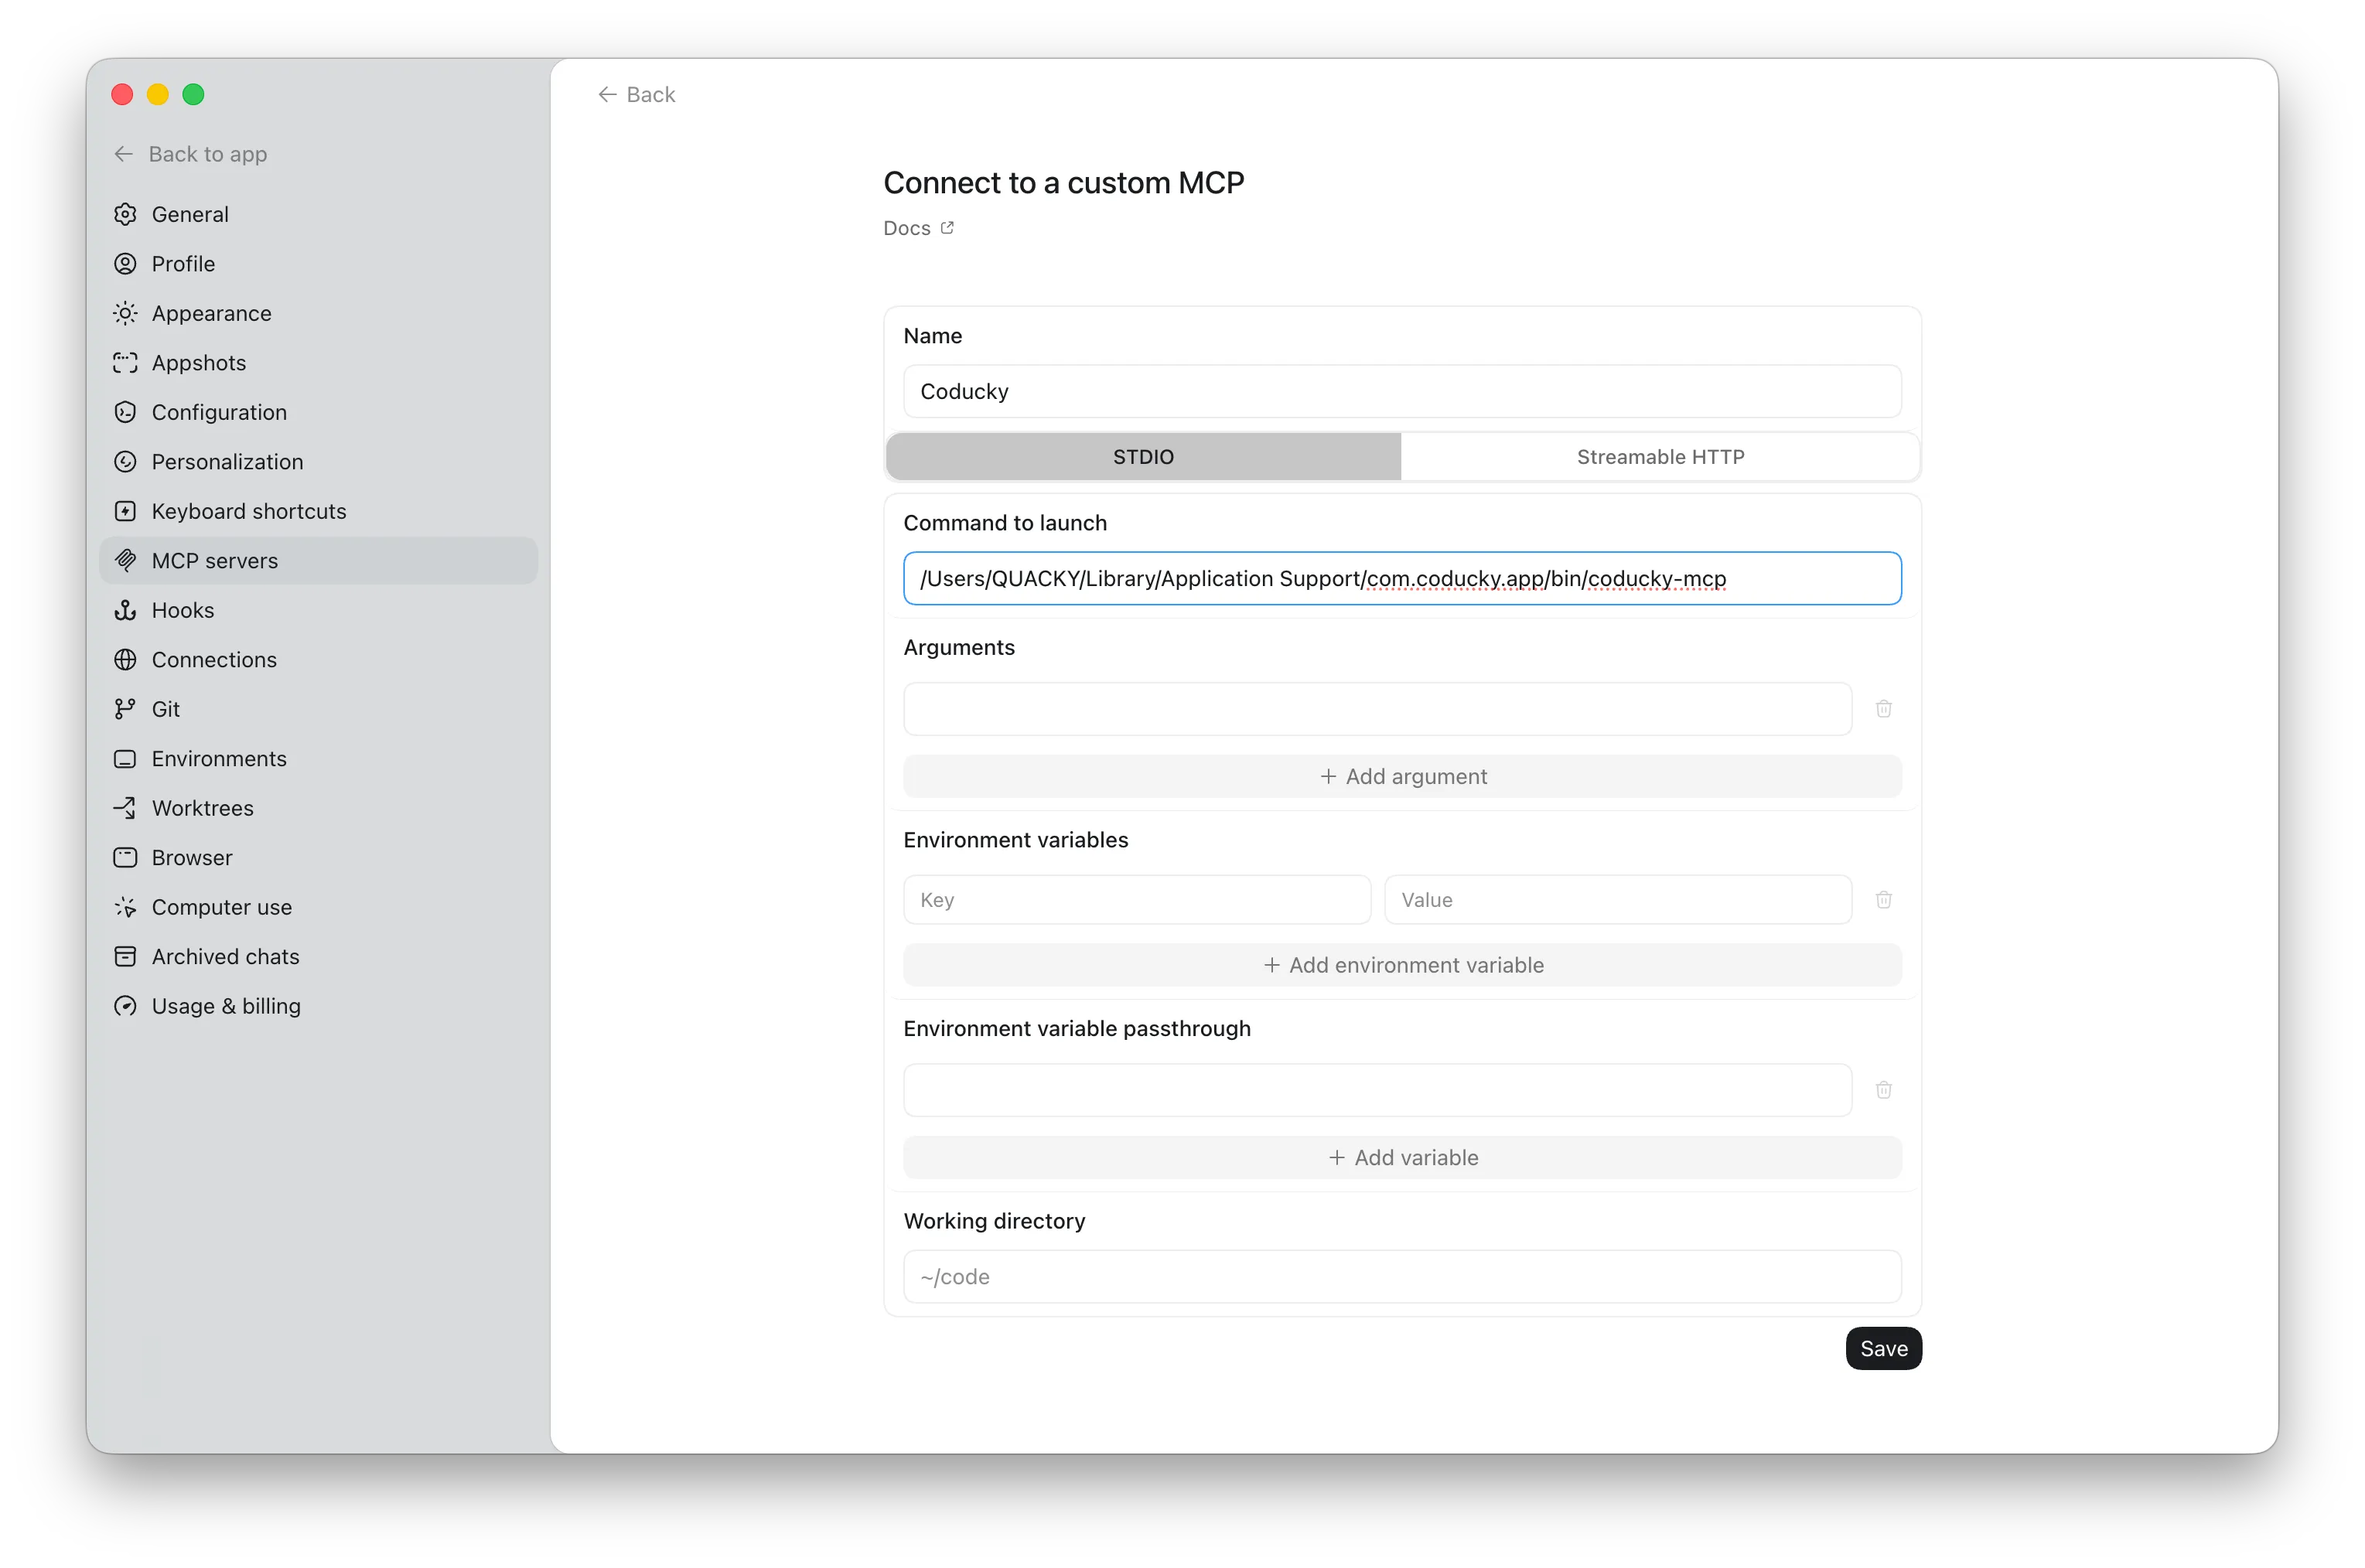
Add Coducky as a custom stdio MCP server in the desktop app.
- Navigate to Settings > MCP Servers and add a custom MCP server
- Select STDIO
- Add Coducky as the name
- Put this path in Command to launch, replacing <username> with your macOS username:
/Users/<username>/Library/Application Support/com.coducky.app/bin/coducky-mcp
Antigravity
Add Coducky to the shared Antigravity MCP server configuration.
- Open the MCP store via the '...' dropdown at the top of the editor's agent panel
- Click on 'Manage MCP Servers'
- Click on 'View raw config'
- Modify the mcp_config.json file with the following configuration:
{
  "mcpServers": {
    "coducky": {
      "command": "/Users/<username>/Library/Application Support/com.coducky.app/bin/coducky-mcp",
      "args": []
    }
  }
}
Cursor
Configure Coducky as a local stdio server by editing Cursor's MCP configuration file.
- Open your global configuration file (`~/.cursor/mcp.json`) or a project-specific file (`.cursor/mcp.json` in your project root)
- Paste the following entry inside the root object (merge with existing mcpServers if present):
{ "mcpServers": { "coducky": { "command": "/Users/<username>/Library/Application Support/com.coducky.app/bin/coducky-mcp", "args": [] } } } - Save the file, and Cursor will automatically reload the configuration
VS Code / Copilot
Use the installed helper command in the editor MCP server entry.
Add this server entry to VS Code / Copilot's MCP config, then restart the client.
{
  "command": "/Users/<username>/Library/Application Support/com.coducky.app/bin/coducky-mcp",
  "args": []
}
OpenCode
Configure Coducky as a local stdio server by editing OpenCode's configuration file.
Add this server entry to OpenCode's MCP config, then restart the client.
{
  "$schema": "https://opencode.ai/config.json",
  "mcp": {
    "coducky": {
      "type": "local",
      "command": [
        "/Users/<username>/Library/Application Support/com.coducky.app/bin/coducky-mcp"
      ],
      "enabled": true
    }
  }
}